
What is a stopwatch?
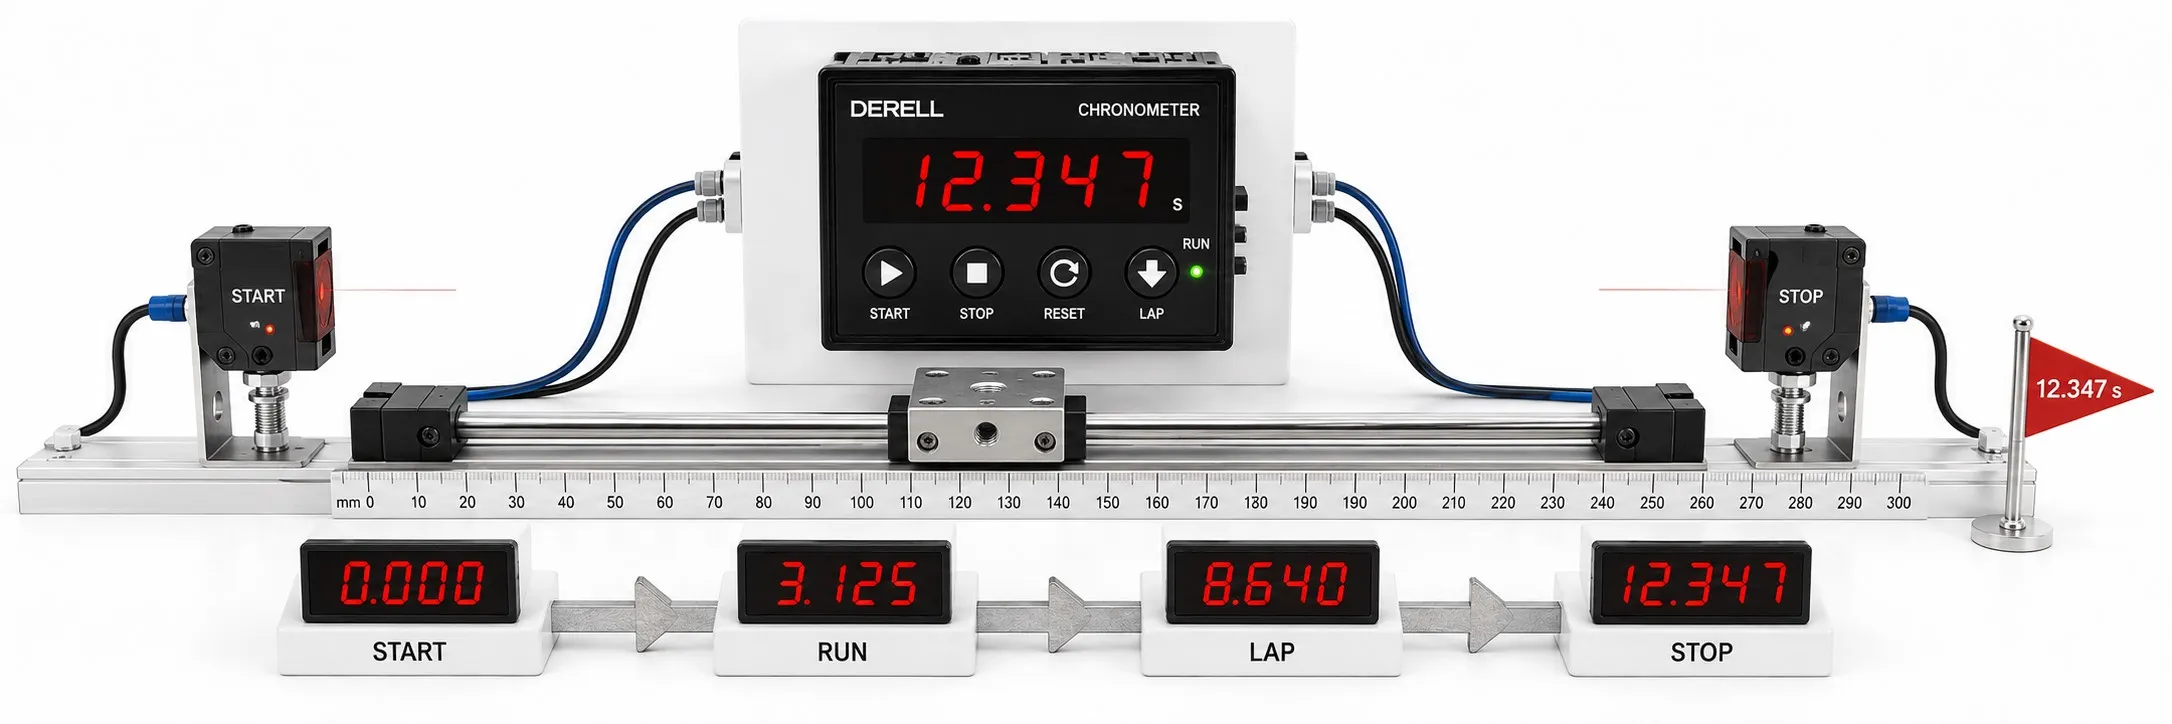
Understanding the time between two events
A stopwatch measures the elapsed time between a defined start and finish. It can show how long a race takes, how quickly a packaging machine completes a cycle, or how much delay occurs during a maintenance test. Unlike a clock displaying the time of day, it answers “how long did this take?”
The basic operation is to establish a starting point and accumulate time from that point. Measurement may be started manually with a button or, on suitable industrial instruments, by an external signal. However, sensor inputs, data memory and control outputs are model features; they are not included in every stopwatch.
How a stopwatch differs from a clock, counter and timer relay
A stopwatch measures an interval. A timer relay produces a time-dependent output according to its operating mode. You might use a stopwatch to observe how long a motor takes to reach a steady speed. Starting that motor five seconds after a command is a timing and control task. One instrument may provide several functions, but measurement and control serve different purposes.
A real-time clock (RTC) deals with the date and time of day. A countdown works backwards from a preset duration. An event counter counts items or pulses. An operating-hours meter generally accumulates a machine’s active running time. Similar-looking numeric displays therefore do not mean that the instruments perform the same job.
How mechanical and digital stopwatches work
In a mechanical stopwatch, a wound mechanism and an escapement regulate the movement of the hands. Starting, stopping and resetting operate through mechanical components. In a digital stopwatch, a quartz oscillator typically supplies the time base. Electronic circuitry counts the regular signals and converts the result into seconds, minutes and hours. The oscillator’s frequency is related to the reference on which the measurement depends.
More display digits do not automatically mean a more accurate measurement. Time-base error, operating conditions and the way the starting and finishing events are detected all affect the result. When choosing between mechanical and digital instruments, consider readability, measurement range and the required error limits together.
Starting, stopping, resuming and resetting
Start begins the measurement; stop holds the accumulated value. On models that support it, restarting resumes the count from the held value. This allows separate periods of activity to be added together. If you need the total duration of a job, including breaks and waiting, leave the stopwatch running throughout those periods.
Reset returns the displayed count to its starting value for a new measurement. Resetting the display and erasing stored records are not necessarily the same operation. Before collecting data, check the button sequence, any protection against accidental reset, and how starting a new measurement affects previous records.
Lap time and split time: a worked example
Lap time is the interval between consecutive timing marks. Split time is the accumulated interval from the original start to a particular mark. When the relevant lap or split function is used, the underlying measurement continues. Holding a value on the display does not necessarily mean that the stopwatch has stopped.
Suppose the first production-stage mark is reached at 12.46 seconds and the second at 25.03 seconds from the original start. The second split is 25.03 seconds, while the second lap is 25.03 − 12.46 = 12.57 seconds. Splits show overall progress; laps show the duration of the individual stages.
Some industrial stopwatches use decimal minutes instead of seconds. 1.50 minutes equals 90 seconds, whereas 1:50 in minutes:seconds equals 110 seconds. Always record the unit and display format when transferring time-study data. Decimal minutes are not a shorthand way of writing minutes followed by seconds.
Resolution, accuracy and manual timing error
Resolution is the smallest increment the display can distinguish, such as 0.01 seconds. Accuracy describes how close a measurement is to the reference value. Repeatability describes how closely results agree under the same conditions. A set of closely grouped readings can still differ from the reference if they share a systematic error.
During manual timing, the operator’s response to both the start and finish contributes to the result. Delays at the two ends cannot be assumed to cancel on every measurement. For short events, this effect may matter more than the final display digit. A display reading to one hundredth of a second does not establish an error of one hundredth of a second.
Editor’s note: Do not treat a very small difference between two machines as conclusive after one manually timed trial. Define the same starting and finishing events, repeat the measurements and examine their spread. Additional display digits cannot correct an uncertain measurement method.
Measuring a production cycle
First define the boundaries of the cycle. In a packaging example, the start could be “product enters the station” and the finish “packaging is complete.” Another study might measure successive products passing the same point. These are different quantities: time spent at a station does not necessarily equal the interval between consecutive outputs.
In an illustrative observation, processing takes 8 seconds and waiting for the next product takes 3 seconds, giving a total interval of 11 seconds. Reporting only the 8 seconds as the line’s sustained output interval would distort a capacity calculation. Recording waiting, material shortages and unplanned stops separately makes an automation efficiency assessment more useful.
Repeat the measurement using the same method and record the number of observations, average, shortest time and longest time. Also note setting changes, product type and observed reasons for stoppages. Explain unusual results rather than silently discarding them. These records provide a more useful comparison than a single “best time.”
When manual timing is insufficient
For short, frequently repeated events, measurement triggered by a photoelectric sensor may be preferable to pressing a button. A through-beam sensor can establish a defined crossing point, and a suitable PLC can record the interval between start and finish events. Specify the signal edge used and which part of the product should trigger detection.
Automatic triggering does not guarantee an error-free result. Consider sensor response, input filtering, input updates, program execution timing and the time base together. Short pulses may be missed by ordinary input processing. If fine time resolution is required, check whether the particular instrument supports appropriate hardware capture or timestamping.
A smart relay may suit simpler applications, but the resolution and data-retention behavior of its timing and logic functions depend on the model. If an output must operate after a delay, select the required on-delay or off-delay function separately. Displaying elapsed time does not establish that a stopwatch includes these control functions.
Selection, records and calibration
Start with the shortest interval to be measured, acceptable error and longest recording duration. Then assess lap-memory capacity, readability, button operation and suitability for the environment. If external triggering is required, check the input specifications. If records must be retained, establish what happens when memory fills, the device is reset or power is lost. These behaviors vary between models.
Calibration compares an instrument’s indication with a suitable reference to establish its deviation and measurement uncertainty; it is distinct from adjusting the instrument. The checking interval depends on use, required tolerance, previous results and manufacturer guidance. Running two ordinary stopwatches side by side can provide a rough consistency check, but it does not by itself replace traceable calibration.
Related topics
To control a system using time, read about programmable timer relays and creating a timing circuit. The explanation of the difference between a time relay and a timer helps distinguish the terminology.
For practical follow-up, see timer relay selection and installation, timer settings and fault detection. To compare control devices, visit timer relays and prices.
Sources
NIST: Stopwatch and Timer Calibrations, 2009. Instrument specifications, calibration methods and measurement traceability.
NIST: SOP 24, Calibration of Stopwatches and Timing Devices. Human response, resolution and measurement uncertainty.
Seiko S058 instruction manual. A model-specific example of start, stop, lap, split and memory functions.
Seiko S05A industrial stopwatch manual. Decimal time display and production measurement.
Omron: Overview of Timers. The basic function of a time-dependent control output.
Omron: PLC I/O refresh and cycle time. The importance of input-processing timing in automatic measurement.